How to adjust the light direction of Galvanized Wall Light?
Jul 30, 2025
As a seasoned supplier of Galvanized Wall Lights, I often receive inquiries from customers regarding the adjustment of light direction. This process might seem daunting at first, but with the right guidance, it can be a straightforward task. In this blog post, I'll share some insights and practical steps on how to adjust the light direction of Galvanized Wall Lights effectively.
Understanding Galvanized Wall Lights
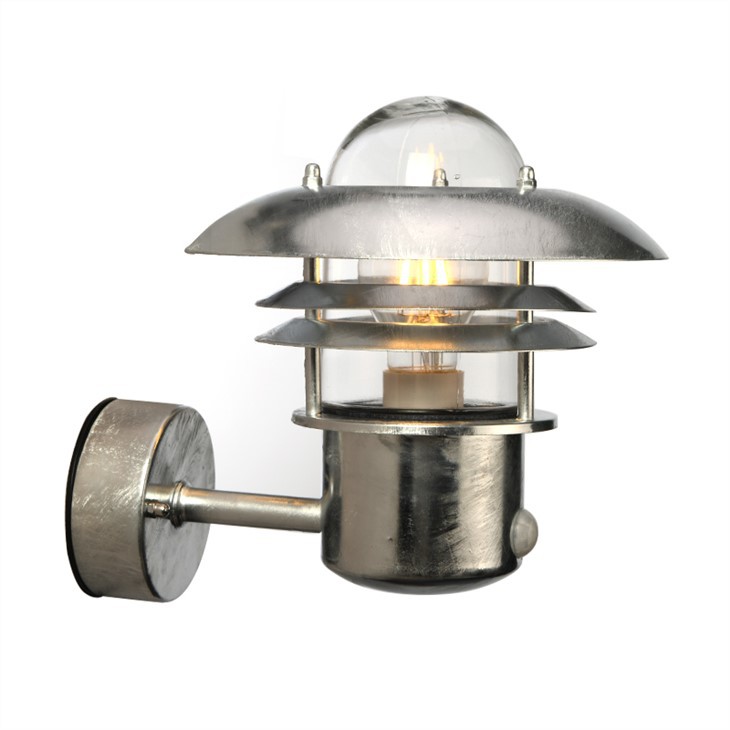
Galvanized Wall Lights are known for their durability and aesthetic appeal. The galvanization process involves coating the metal with a layer of zinc, which protects it from corrosion and rust, making these lights ideal for both indoor and outdoor use. They come in various styles and designs, such as Galvanized Gooseneck Lights, Outdoor Round Wall Light, and Galvanized Outdoor Barn Light, each offering unique features and light distribution patterns.
Tools You'll Need
Before you start adjusting the light direction, gather the necessary tools. These typically include a ladder (if the light is installed at a high position), a screwdriver (either flat - head or Phillips, depending on the type of screws used), and a measuring tape. Having these tools on hand will make the adjustment process smoother and more efficient.
Safety First
Safety should always be your top priority when working with electrical fixtures. Make sure to turn off the power supply to the wall light at the circuit breaker before you begin any adjustments. This will prevent the risk of electric shock. If you're not comfortable working with electrical systems, it's advisable to hire a professional electrician.
Step - by - Step Guide to Adjusting Light Direction
Step 1: Inspect the Light Fixture
Start by carefully examining the Galvanized Wall Light. Look for any visible adjustment mechanisms. Some wall lights have a simple pivot or swivel joint that allows you to change the angle of the light head. Others may require you to loosen screws to adjust the position. Take note of how the fixture is attached to the wall and how the light head is connected to the base.
Step 2: Loosen the Fasteners
If the light has screws holding the light head in place, use the appropriate screwdriver to loosen them. Be careful not to remove the screws completely, as you'll need them to secure the light head in the new position later. If the light has a pivot joint, check if there are any locking mechanisms that need to be released.

Step 3: Determine the Desired Light Direction
Decide where you want the light to shine. Consider the purpose of the lighting, such as illuminating a specific area like a pathway, a door, or a decorative feature. Use the measuring tape to ensure that you're achieving the desired angle and coverage. For example, if you want to light up a walkway, aim the light at a downward angle of about 45 degrees to provide sufficient illumination without causing glare.
Step 4: Adjust the Light Head
Once you've determined the desired direction, gently move the light head to the new position. If it's a swivel - type fixture, you can rotate it horizontally or vertically. If it's a pivot joint, tilt the light head up or down. Make small adjustments and test the light after each one to see if you're getting the desired effect.
Step 5: Secure the Light Head
After you're satisfied with the new light direction, tighten the screws or re - engage the locking mechanisms. Make sure the light head is firmly secured to prevent it from moving over time. Check that the fixture is stable and doesn't wobble.
Step 6: Test the Light
Turn the power supply back on at the circuit breaker and test the light. Observe the light distribution and make any final adjustments if necessary. If the light is shining too brightly in one area or not providing enough light in another, you may need to fine - tune the angle again.
Troubleshooting Common Issues
Problem: The Light Head Won't Move
If you're having trouble moving the light head, it could be due to a stuck pivot joint or rusted screws. In the case of a stuck pivot joint, try applying a small amount of lubricant, such as WD - 40, to the joint. For rusted screws, you may need to use a penetrating oil to loosen them. If the problem persists, it's best to consult a professional.
Problem: The Light Is Flickering
Flickering can be caused by a loose connection or a faulty bulb. Check the bulb to make sure it's properly screwed in. If the bulb is fine, examine the wiring connections inside the light fixture. If you notice any loose wires, turn off the power and carefully tighten them. If the problem continues, it may be a sign of a more serious electrical issue, and you should seek professional help.
Maintenance Tips
To keep your Galvanized Wall Lights in good condition and ensure that the light direction remains consistent, regular maintenance is essential. Clean the light fixture periodically with a soft, dry cloth to remove dust and dirt. Check the fasteners regularly to make sure they're tight, as vibrations can cause them to loosen over time. If you notice any signs of rust or corrosion on the galvanized surface, you can touch up the area with a zinc - rich paint to prevent further damage.
Benefits of Proper Light Direction
Adjusting the light direction of your Galvanized Wall Lights offers several benefits. Firstly, it enhances the functionality of the lighting. By directing the light where it's needed, you can improve safety in areas like stairways and entrances. Secondly, it can enhance the aesthetic appeal of your space. Well - directed light can highlight architectural features, plants, or decorative elements, creating a more inviting and visually appealing environment.
Why Choose Our Galvanized Wall Lights
As a supplier, we take pride in offering high - quality Galvanized Wall Lights. Our products are made from premium materials and undergo strict quality control measures to ensure long - lasting performance. We offer a wide range of styles and designs to suit different customer needs and preferences. Whether you're looking for a modern, minimalist look or a more traditional design, we have the perfect Galvanized Wall Light for you.
Contact Us for Purchase and Consultation
If you're interested in purchasing our Galvanized Wall Lights or have any questions about adjusting the light direction or our products in general, we'd love to hear from you. Our team of experts is ready to assist you with product selection, installation advice, and any other concerns you may have. Contact us today to start a procurement discussion and transform your space with our high - quality lighting solutions.
References
- Lighting Design Basics Handbook, Third Edition
- Electrical Installation Manual for Residential and Commercial Buildings
In conclusion, adjusting the light direction of Galvanized Wall Lights is a relatively simple process that can significantly improve the functionality and aesthetics of your space. By following the steps outlined in this blog post and taking proper safety precautions, you can achieve the desired lighting效果 and make the most of your wall lights.